
Installation of Your Track Video System
 This article covers some of the options and issues you'll have the pleasure of dealing with when actually installing your video system.
Contents
Location - First question, where do you want to put the camera? Inside the car or outside? On top or underneath? Second. What do you want to capture? The action ahead or the driver? Tire deformation or the traffic behind you? There are so many possibilities, and while most of the time you'll probably want video of what is in front of the car, grabbing some clips of the driver, the fancy pedal-work, the car behind you, and so on, then inserting them into the main video can really make it much more interesting. What you can do is run a full session, or autocross run, recording video looking ahead of the car, then move the camera to another location and record that run, and when you get home, patch it all together. Do a good job with the editing and your friends will completely forget that it was a multi-take video.
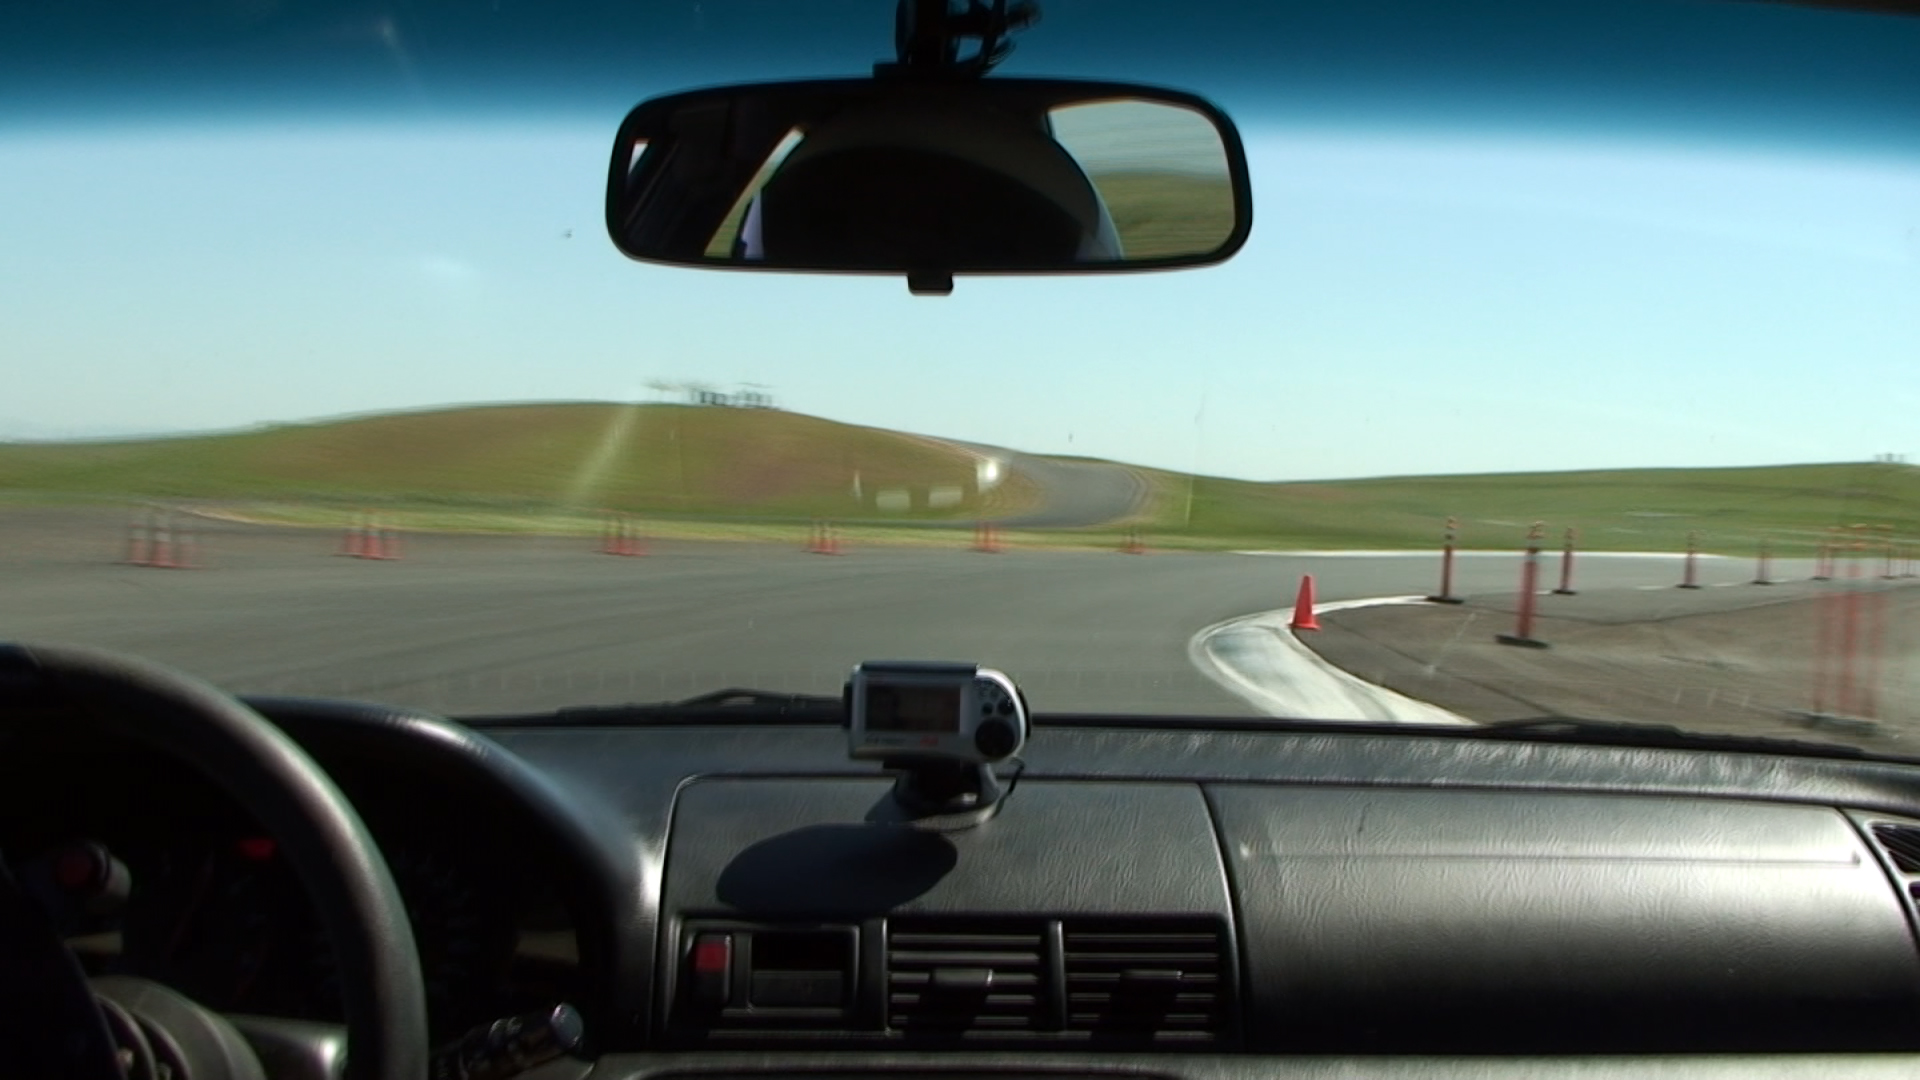
The table below shows the views from a number of camera locations. Click them to see the full sized version.
 |
 |
 |
 |
 |
 |
 |
 |
 |
Mechanical - The mechanical aspects of the camera installation will vary with the type and weight and cost of the camera and where you want to put it. You might need a robust Stickypod for your large professional-grade camera, while something smaller may work fine for a handicam, and you might be able to get away with using a wad of duct tape to secure a bullet cam to some odd part of the car or to your helmet. What ever you settle on, keep a few things in mind:
- Vibration - Vibration can loosen your camera mount as well as the camera in the mount. Make both are secure at the start of your day and check it throughout the day.
- Collisions - The ultimate vibration, hitting something. Will your mounting system be able to hang on to your equipment? You most definitely do not want anything inside the car to come loose during an accident or roll-over because it will fly around inside the cabin and pummel you. If the camera is outside of the car then being able to hang on to it could mean the difference between getting a good video of the crash and sweeping pieces of it up off the track.
- Heat - The heat of an engine, exhaust, the summer sun, anything heat source near your camera, can soften plastic parts, weakening them, and making it easier for them to get loose.
- Moisture - Running in the rain? Rain and water already on the track can compromise any mounting system that relies of some form of adhesion. Oil, coolant, and other automotive fluids can do the same. Tape, adhesives, suction cup mounts, are all in this category. In the worse case you could loose the camera. If one suction cup of three, for example, comes loose, then your camera will flap around and you'll get crappy video.
- Dust and Dirt - If you car is dirty, and you try to stick something to it, then you shouldn't be surprised if after a lap of so it comes off.
The best mounting system is one were your equipment is bolted down and locking-type fasteners are used. In addition, a tether should be used to hang on to anything that could possibly get loose.

Bullet cam mounted in the grill.
Camera Settings - After you've installed the camera you'll need to adjust the exposure and recording settings. Here are a few recommendations.
- Zoom - I always zoom all the way out so the camera can capture the action near the car. My high-def camera even does a great job showing my speedometer and tach.
- Focus - Use manual focus. If you don't the focus is likely to wander, sometimes focusing on the inside of the car, then the car ahead of you, then the reflection on your windshield. You get the idea. I set my cameras to manual focus then focus to infinity.
- White Balance - You'll probably want to set this to daylight if running in sunshine, or maybe to overcast if the day is cloudy. Auto white balance may work for you but I have had issues with it changing on me when the car is pointed in the general direction of the sun, then towards building, and so on.
- Steady Shot - This is Sony's name for image stabilization and is designed to compensate for a degree of camera movement, which in this case, would be caused by the car. I turn this on and it seems to be helping a lot on my SD camera, but I'm not sure it is doing so well on my HD camera. The image starts bouncing as my car reaches high speeds at the end of the straights.
Back to top
Audio is important in all videos, and in track videos in particular. The audio has your great engine sound, the cries for mercy coming from your tortured tires, the squeal of high-performance brake pads, your shifting and throttle work, and of course the hysterical screams of your passenger. Unfortunately it can be difficult to get good sound in track videos. The main problem is wind noise. Above 25-30 mph it can completely drown out everything else, and in the case of my SD camera, it can shut down the audio channel completely. The solution is mounting the microphones out of the wind. Out of the wind usually means out of the passenger cabin, assuming you have to run with your windows down, because this can be a very noisy environment. It doesn't help to put the microphone on the floor or under the seat. It has to go somewhere else. The trunk? Maybe. It didn't work for me. All but the lowest frequency sounds came through, along with the squeaks and rattles of the suspension and exhaust along with anything else in the trunk that wasn't bolted down. Basically it sounded like the microphone was in a 55 gallon drum.
The two preferred places to mount your microphones are behind the car, such as near the tail lights, but not too close to the exhaust, or in the engine bay. You'd think the engine bay would be terribly noisy, and it is, but it sounds great, except maybe for valve clatter, etc., but then again the sweat sounds of VTEC or four-barrel carburetors more than makes up for that. Your audio will include engine sound, most of which is from the intake system and the exhaust header, plus tires and brakes, throttle, all that great stuff. At idle you might hear various belts and accessories running, but do you really plan to do a lot of idling?
Mounting the microphone behind the car also works very well. You will hear the exhaust, tires, even the car behind you. And it is a great place to put stereo mics. Place them far apart, say, next to each tail light, you can hear which side of your car the other car is on.
Actually, there is a third option. You can put you camera in a box of some kind, one that has an opening or clear window for the video, like the kind of box you use when you take your camera scuba diving with you. The Hero is placed in a small box and that works well for audio and bad weather and track debris. The wind does not blow directly on the mic and the case filters a lot of the high frequency noise. I've heard the results provided by the Hero cameras and they sounded pretty good.
Once you've selected a location take stock to see what you need to do to make your installation safe and reliable. Could the mics get wet, or hot? While you are looking into this also look into the wiring of the mics.
Back to top
If your system includes any extras, such as battery packs, pre-amps, video switches or processors, you'll want to do all you can to make sure it is all safe and yet easy to get access to. You may even want to make the whole mess modular so that you can easily move it from car to car.
The picture below shows an earlier version of my video accessories collection. It included everything I needed at the time, all in nice little boxes, all secured to a sheet of ABS plastic that was bolted down in the place where my rear seat used to go. It was all neat and tidy and easy to use, but I eventually moved everything into one slightly larger box which I have been able to quickly remove and install in other people's cars.

Back to top
If you are using a remote control of some sort it is most likely to be either the IR remote that came with your camcorder or DVR, or it will be a switch that is wired to your equipment. In either case, you want these to be installed and used in a manner that is safe during normal driving and if (when?) something goes wrong. When I have used my IR remote control I tuck it into a pocket that I can zip closed after I start recording. I don't leave it out anywhere that it can get loose. I don't use Velcro to stick it to my dash or anything like that.
For my wired remote controls the installations have always been temporary, installed at the track early in the morning. All that required was some tape and zip ties, but I make sure that none of this will get in my way or my passenger's way and that it is located where I can easily see it even when wearing a helmet, plus I leave enough slack in the wiring at the camera/DVR end that it is unlikely to get pulled from its socket.
Back to top
5. Electrical Power and Wiring Guidelines
Any electrical work you do on your car should follow the codes of whatever agency regulates the types of event you are participating in. If that sounds like a disclaimer, it is. I don't know all the rules the professionals have to follow and I'm not sure how far I need to go into that matter. I did ask a contractor who did the electrical work on industrial equipment about this once and he just said to me, "If it's working, you're good." I'm sure that wasn't how he did his job and took his comment to mean not to get too hung up on it. After all, anyone can purchase wiring, lights, switches, and all sorts of automotive electrical components at local hardware and parts stores, so there must not be a lot of concern about this. Besides, it's just a 12 volt system, right?
Well, 12 volts is pretty safe as far as not knocking you on your ass if you touch exposed wiring goes, but in low voltage systems it is the current that actually does the damage. When an electrical current flows you get electric and magnetic fields and all that sort of thing, but you also get heat, and its the heat that is most likely to be the problem. If your wires are too thin for the current they are expected to carry they will get hot, the insulation will soften and possibly allow a short, which can create a much bigger mess really quickly. Likewise, switches, connectors, relays, and other components must be rated for the current they are expected to carry or they can cook themselves, fail, and yes, start a fire.
With these basic ideas in mind, here are some things to keep in mind when wiring up the equipment in you car:
- Note and heed the voltage and current ratings of the wiring and electrical components you are using.
- When running power cables over long distances keep in mind that the voltage may drop slightly. You may need to use slightly larger gauge wires.
- Put some thought into the physical environment of your installation. Will your wiring be near any heat sources? Will it be subject to abrasion or other things that can wear or cut through it? Could water get into everything?
- Use only quality connectors. Cheap connectors, or connectors used incorrectly, can cause the connection to get hot, deteriorate, and eventually fail.
I am a big fan of bundling my wiring, using tape, zip ties, and/or split flex tubing, to keep it all tidy and safe. I also zip tie all wiring to fixed parts of the car so that it cannot move. I am also a big fan of fuses. If my equipment does start to draw too much current I'd rather have a fuse in my equipment blow than a fuse on the car's fuse panel, and I never run wiring from the car's battery without running it through a fuse installed near the battery. That 12 volt battery can put out over 100 amps if shorted, more than enough to weld steel with.
Batteries - Most camcorders will be powered by their own batteries, so there are no electrical issues for them that you can't blame on the manufacturer. ;)
If you are using a battery pack to power your bullet cams you need to make sure the batteries and wiring will not be damaged during a run. You'd be surprised at how quickly even a pack of AA batteries can melt connectors and wires if shorted, and how hot these batteries can get, and what happens when they get too hot. You also want to keep them dry and you don't want them to come loose. A short length of duct tape is all it takes to make sure batteries stay in the plastic holders some people use. Keep in mind that you need to be able to get to the batteries so you can change them, so find a location for them that is safe and accessible.
Labeling - Label everything, the wiring, the connectors on the enclosures, everything. Colored wiring helps, but you can quickly run out of colors.
Documentation - Write everything down, including your parts lists and schematics. This will make future repairs and improvements much easier to make.

Beginning of the construction of a prototype for
my carputer/video system.
Back to top

